I’m currently building an eCommerce checkout app, and I’m using Cypress for end to end testing. I ran into some issues and learned some tricks I’ll share with you here.

If you aren’t familiar with the term e2e, it means testing the whole app from the user perspective. In my case, that would be add an item to the cart, and complete the checkout process on the front end. You can check if fields are shown/hidden properly, if payment methods work, and the user is redirected to the order received page.
How Cypress Works
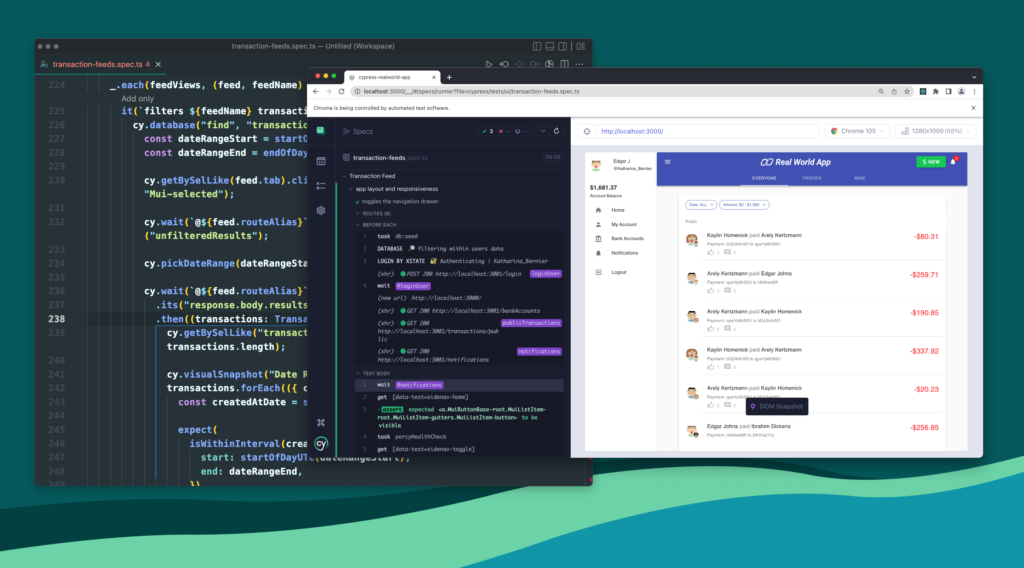
Cypress runs tests by opening a browser and clicking buttons and filling fields. This is very different from unit tests, which test small pieces of code in isolation, with no browser environment.
A basic Cypress test looks like this:
describe('My First Test', () => {
  it('submits my email form', () => {
    cy.visit('/')

    cy.get('input[name="email"]')
     .should('exist')
     .type('scott@mysite.com')

    cy.get('button[type="submit"]')
     .click()

    cy.contains('Thank you!).should('exist')
  })
})
This is contained in a file that is in a test folder, in a .cy.js file. You then use the Cypress server to open a browser and run your test.
That’s the basics, now let’s get into some more advanced stuff.
Use Custom Commands
Cypress allows you to write reusable functions called commands. This is really handy if you are doing the same thing over and over in your tests, like filling out a form.
Commands are added in a cypress/support/index.js or supports/commands.js file.
Here’s a command to fill a billing address:
Cypress.Commands.add('fillBilling', () => {

  // create a different nonsense email each time
  let randomString = (Math.random() + 1).toString(36).substring(7)

  cy.get('input[name="email"]')
    .should('exist')
    .type(randomString + '@fdsfgejw.io')

  cy.get('input[name="billingAddress.firstName"]')
   .type('Cypress')

  cy.get('input[name="billingAddress.lastName"]')
   .type('Test')

  cy.get('input[placeholder="House number and street name"]')
    .should('exist')
    .type('123 Main St')

  cy.get('input[name="billingAddress.city"]')
   .should('exist').type('New York')

  cy.get('input[name="billingAddress.state"]')
   .type('NY')

  cy.get('input[name="billingAddress.postcode"]')
   .type('10001')
})
To grab your selectors, it’s recommended to use attributes that won’t change, such as a name or type as opposed to classes and ids.
You can then use this custom command in your test like this:
it('can fill the form', () => {
  cy.fillBilling()
})
This comes in really handy when I’m testing different payment methods, but filling the form the same way each time.
Working with iFrames
I’m working with an iframe based checkout that has nested iframes inside it (Stripe payment elements and other CC inputs).
I need Cypress to open my iframe based checkout and fill some fields, but then also fill Stripe credit card inputs which are nested iframes. This got tricky, but here’s my solution.
First, here’s how Cypress recommends to interact with a single iframe. Let’s add it to a command so we can use it in all of our tests.
// add to commands.js

Cypress.Commands.add('getIframeBody', () => {
  return cy
  .get('iframe#frame-id')
  .its('0.contentDocument.body').should('not.be.empty')
  .then(cy.wrap)
})
Make sure to replace the frame-id.
Then if you want to fill an input inside an iframe, you can do it like this:
it('can fill the form inside an iframe', () => {
  cy.getIframeBody()
   .find('input[name="email"]')
   .type('scott@mysite.com')

  cy.getIframeBody()
   .find('button[type="submit"]')
   .click()

  cy.getIframeBody()
   .find('#order-received')
   .should('exist')
})
Nested iFrames
Now let’s look at nested iFrames, it will work slightly different.
I found this great solution on Medium, let’s make a command for it:
Cypress.Commands.add('iframeCustom', { prevSubject: 'element' }, ($iframe) => {
  return new Cypress.Promise((resolve) => {
    $iframe.ready(function () {
      resolve($iframe.contents().find('body'))
    })
  })
})
To fill a credit card input iframe inside another iframe, we can combine both of our iframe solutions above like this:
it('can fill a Square CC input', () => {
  // get our checkout iframe
  cy.getIframeBody()
    // get the nested CC input iframe
    .find('#square_credit_card-content iframe')
    .iframeCustom()
    // grab the CC input ID
    .find('#cardNumber')
    .should('exist')
    .type('4111111111111111')
})
You can use this for any nested iframe, just change the selectors.
Stripe Nested Iframe Inputs
I found Stripe to be a little tricky, here’s the way I fill those inputs:
// add this to your commands file
Cypress.Commands.add('getNestedStripeElement', (selector) => {
  return cy
    .frameLoaded('iframe#my-iframe')
    .iframeCustom()
    .find('.__PrivateStripeElement > iframe')
    .iframeCustom()
    .find(selector)
})

// then use it in your tests like this
it('fills a nested Stripe input', () => {
  cy.getNestedStripeElement('input[name="number"]')
    // click to give it focus
    .click()
    .type('4242424242424242')
})
Alias queries
Another thing I do across tests is alias queries, we can also put that in our commands file.
In my case I am using graphQL, so I can do it like this:
Cypress.Commands.add('aliasGQL', () => {
  cy.intercept('POST', '**/graphql', (req) => {
    aliasQuery(req, 'Login')
    aliasQuery(req, 'Settings')
    aliasQuery(req, 'Cart')
    aliasQuery(req, 'Customer')
    aliasQuery(req, 'Checkout')
    aliasQuery(req, 'ShippingMethod')
  })
})
You could also add fixtures there if you like. Now in my test file I can do:
context('Actions', () => {
  beforeEach(() => {
    cy.aliasGQL()
  })

  it('can do something', () => {
   // now we can wait for our queries to finish like this
   cy.wait('@gqlSettings')
   // ... more tests
  })

})
Creating reusable commands cleans up my test files, and makes my tests more maintainable. If there is an issue, I can fix the problem once in my commands, and it propagates to all my tests.